
Disconnecting product connections
 Qualified person
To decommission the product completely upon completion of its service life, first disconnect all connections from the product.
Procedure:
- Disconnect the product from voltage sources .
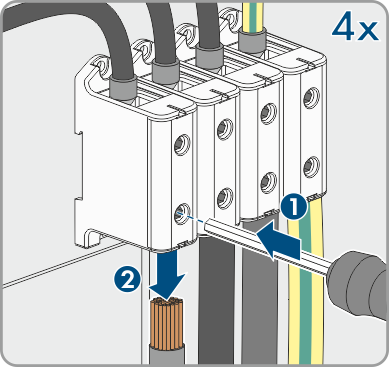
- Remove the AC cable from the inverter. To do so, loosen the screws (AF8) and pull the cables out of the terminal.
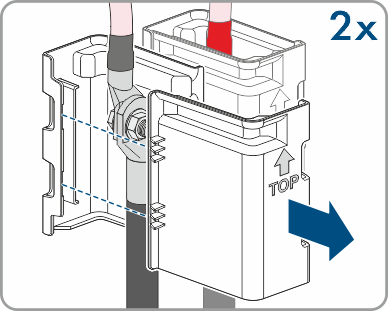
- Remove the protection elements against contact from the terminal lugs for the DC connection. To do so, unlock the side brackets.
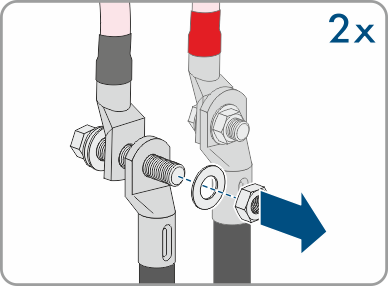
- Remove the DC cable connection. Loosen the hex nuts and remove the combined hexagon head screw (AF16).
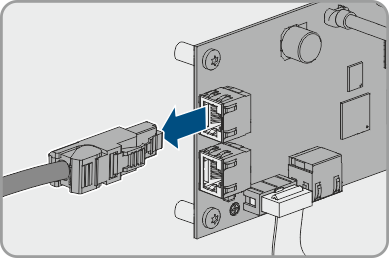
- Remove the network cables from the network ports.
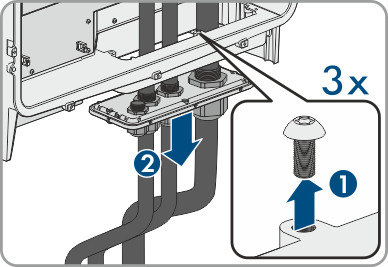
- Remove all cable glands from the connecting plate. To do so, unscrew the counter nuts from inside and remove the cable glands from the opening.
- Dismantle the connecting plate. To do so, unscrew the three screws (TX40).
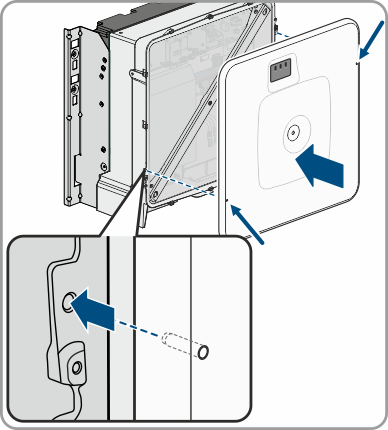
- Position the enclosure lid. The two guide pins on the enclosure lid must slide into the guide openings on the enclosure lid.
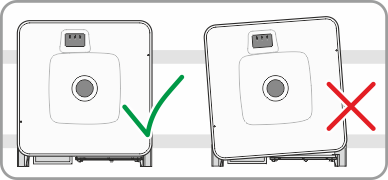
- Ensure that the cover sits straight on the enclosure.
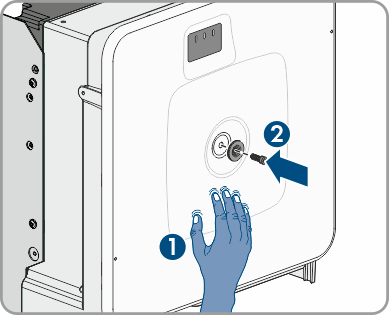
- Hold the enclosure lid pressed against the enclosure and screw and tighten the screw (hex socket AF8, torque: 18 Nm).
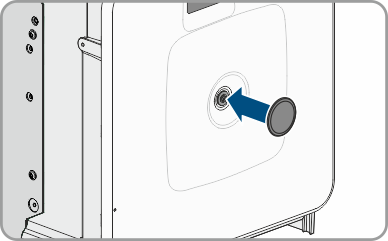
- Place the cover on the screw in the enclosure lid.
- Disassemble the product ( > Disassembling the product).
Also see: